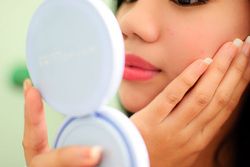
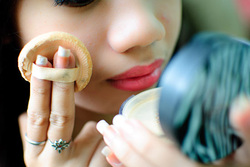
Tips how to apply make up
1) Eye and lip make up
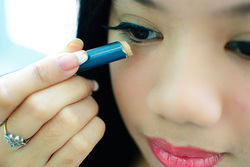
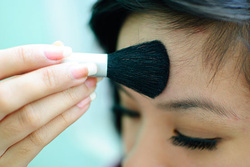
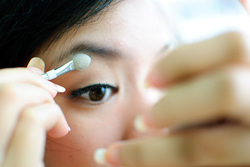
How to apply eye make up:
Steps:
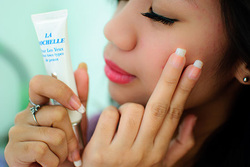
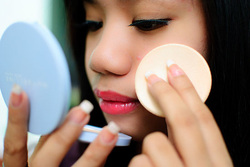
1.Pick a neutral shade of eyeshadow that matches your skin tone. Apply it from your lash line to your brow bone.
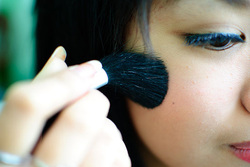
2.Use an eyeshadow shade such as mauve, gray, or brown and apply it onto the outer corners of your eyes. Make sure to only apply it to the crease of the eyes, no higher. Use a finger to blend the darker color in, so it looks natural. Doing this step brings the focus onto the corner of the eyes, making them appear longer and more almond shaped.
3.Gently pull the lower rim of your eye (right above the lower lashline) down, and apply either white eyeliner or eyeshadow on an angled brush. Make sure it is applied equally and everywhere on the rim. Blend. Let yourself blink a few times. Don't worry, doing this step will cause no harm to your eyes.
4.This time, using solely white eyeshadow, dab some into the inner corner of the eye.Take your time on this step, because you want to make sure the white only gets into the very inner corner. Otherwise it will look unnatural and messy.
5.With a steady hand, draw a thin line with brown or black liquid eyeliner, depending on how fair skinned you are (using black will be very severe with very fair skin tones). Do not apply eyeliner where there are no longer any lashes. Putting a little line at the outer corner of the eyes will also help to make them appear longer. Do not apply a lot on the bottom of the eye.
6.Curl lashes with an eyelash curler. DO NOT TUG. Close eyes halfway, and apply mascara, sweeping the wand upward. Do this for several coats. Put an extra coat on the middle lashes. For the lower lashes, apply only 1 or 2 coats. When mascara is dry, curl lashes one more time.
How to make your lips attractive:-
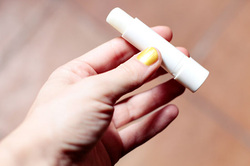
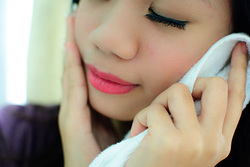
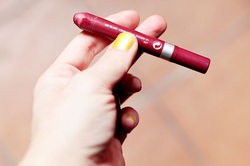
1.apply lip balm. We don't want cracked lips!
2.Here, we are only going to use lip liner on one part of the lips, the very top with the little curves. Make sure your lip liner matches exactly with the lipstick you will use. Instead of applying it so it perfectly reflects the shape of your lips, level out the downward curve slightly. This will help your lips appear plumper on top.
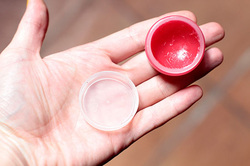
3.Pick your lip stick. If you're unsure what color to use, go for a natural pink/peach or coral color. Make sure the lip liner is not noticeable
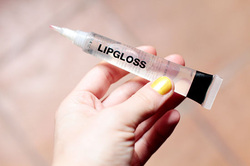
4.With clear lip gloss, dab it onto the very middle of the lips, more so to to bottom though. This will bring the attention to the middle of your lips versus the lips as a whole, therefore making them appear fuller
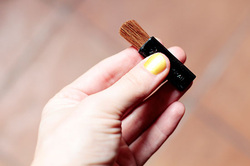
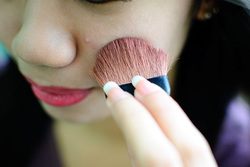
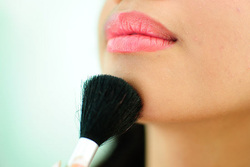
5.If you have extra time, this additional step will make lips look fuller by adding a natural shadow under the lower lip. On a fluffy, medium size makeup brush, mix mauve eyeshadow with an eyeshadow of your natural skin tone. Dab off excess powder on your arm or tissue. Look up, and sweep the makeup right under the lower lip. Now using your fingers, blend, to insure the shadow will look completely natural, not like you have dirt under your mouth. This step takes a lot of practice and patience, so take your time and don't get mad if it doesn't look perfect the first time.
1) Eye and lip make up
How to apply eye make up:
Steps:
1.Pick a neutral shade of eyeshadow that matches your skin tone. Apply it from your lash line to your brow bone.
2.Use an eyeshadow shade such as mauve, gray, or brown and apply it onto the outer corners of your eyes. Make sure to only apply it to the crease of the eyes, no higher. Use a finger to blend the darker color in, so it looks natural. Doing this step brings the focus onto the corner of the eyes, making them appear longer and more almond shaped.
3.Gently pull the lower rim of your eye (right above the lower lashline) down, and apply either white eyeliner or eyeshadow on an angled brush. Make sure it is applied equally and everywhere on the rim. Blend. Let yourself blink a few times. Don't worry, doing this step will cause no harm to your eyes.
4.This time, using solely white eyeshadow, dab some into the inner corner of the eye.Take your time on this step, because you want to make sure the white only gets into the very inner corner. Otherwise it will look unnatural and messy.
5.With a steady hand, draw a thin line with brown or black liquid eyeliner, depending on how fair skinned you are (using black will be very severe with very fair skin tones). Do not apply eyeliner where there are no longer any lashes. Putting a little line at the outer corner of the eyes will also help to make them appear longer. Do not apply a lot on the bottom of the eye.
6.Curl lashes with an eyelash curler. DO NOT TUG. Close eyes halfway, and apply mascara, sweeping the wand upward. Do this for several coats. Put an extra coat on the middle lashes. For the lower lashes, apply only 1 or 2 coats. When mascara is dry, curl lashes one more time.
How to make your lips attractive:-
1.apply lip balm. We don't want cracked lips!
2.Here, we are only going to use lip liner on one part of the lips, the very top with the little curves. Make sure your lip liner matches exactly with the lipstick you will use. Instead of applying it so it perfectly reflects the shape of your lips, level out the downward curve slightly. This will help your lips appear plumper on top.
3.Pick your lip stick. If you're unsure what color to use, go for a natural pink/peach or coral color. Make sure the lip liner is not noticeable
4.With clear lip gloss, dab it onto the very middle of the lips, more so to to bottom though. This will bring the attention to the middle of your lips versus the lips as a whole, therefore making them appear fuller
5.If you have extra time, this additional step will make lips look fuller by adding a natural shadow under the lower lip. On a fluffy, medium size makeup brush, mix mauve eyeshadow with an eyeshadow of your natural skin tone. Dab off excess powder on your arm or tissue. Look up, and sweep the makeup right under the lower lip. Now using your fingers, blend, to insure the shadow will look completely natural, not like you have dirt under your mouth. This step takes a lot of practice and patience, so take your time and don't get mad if it doesn't look perfect the first time.